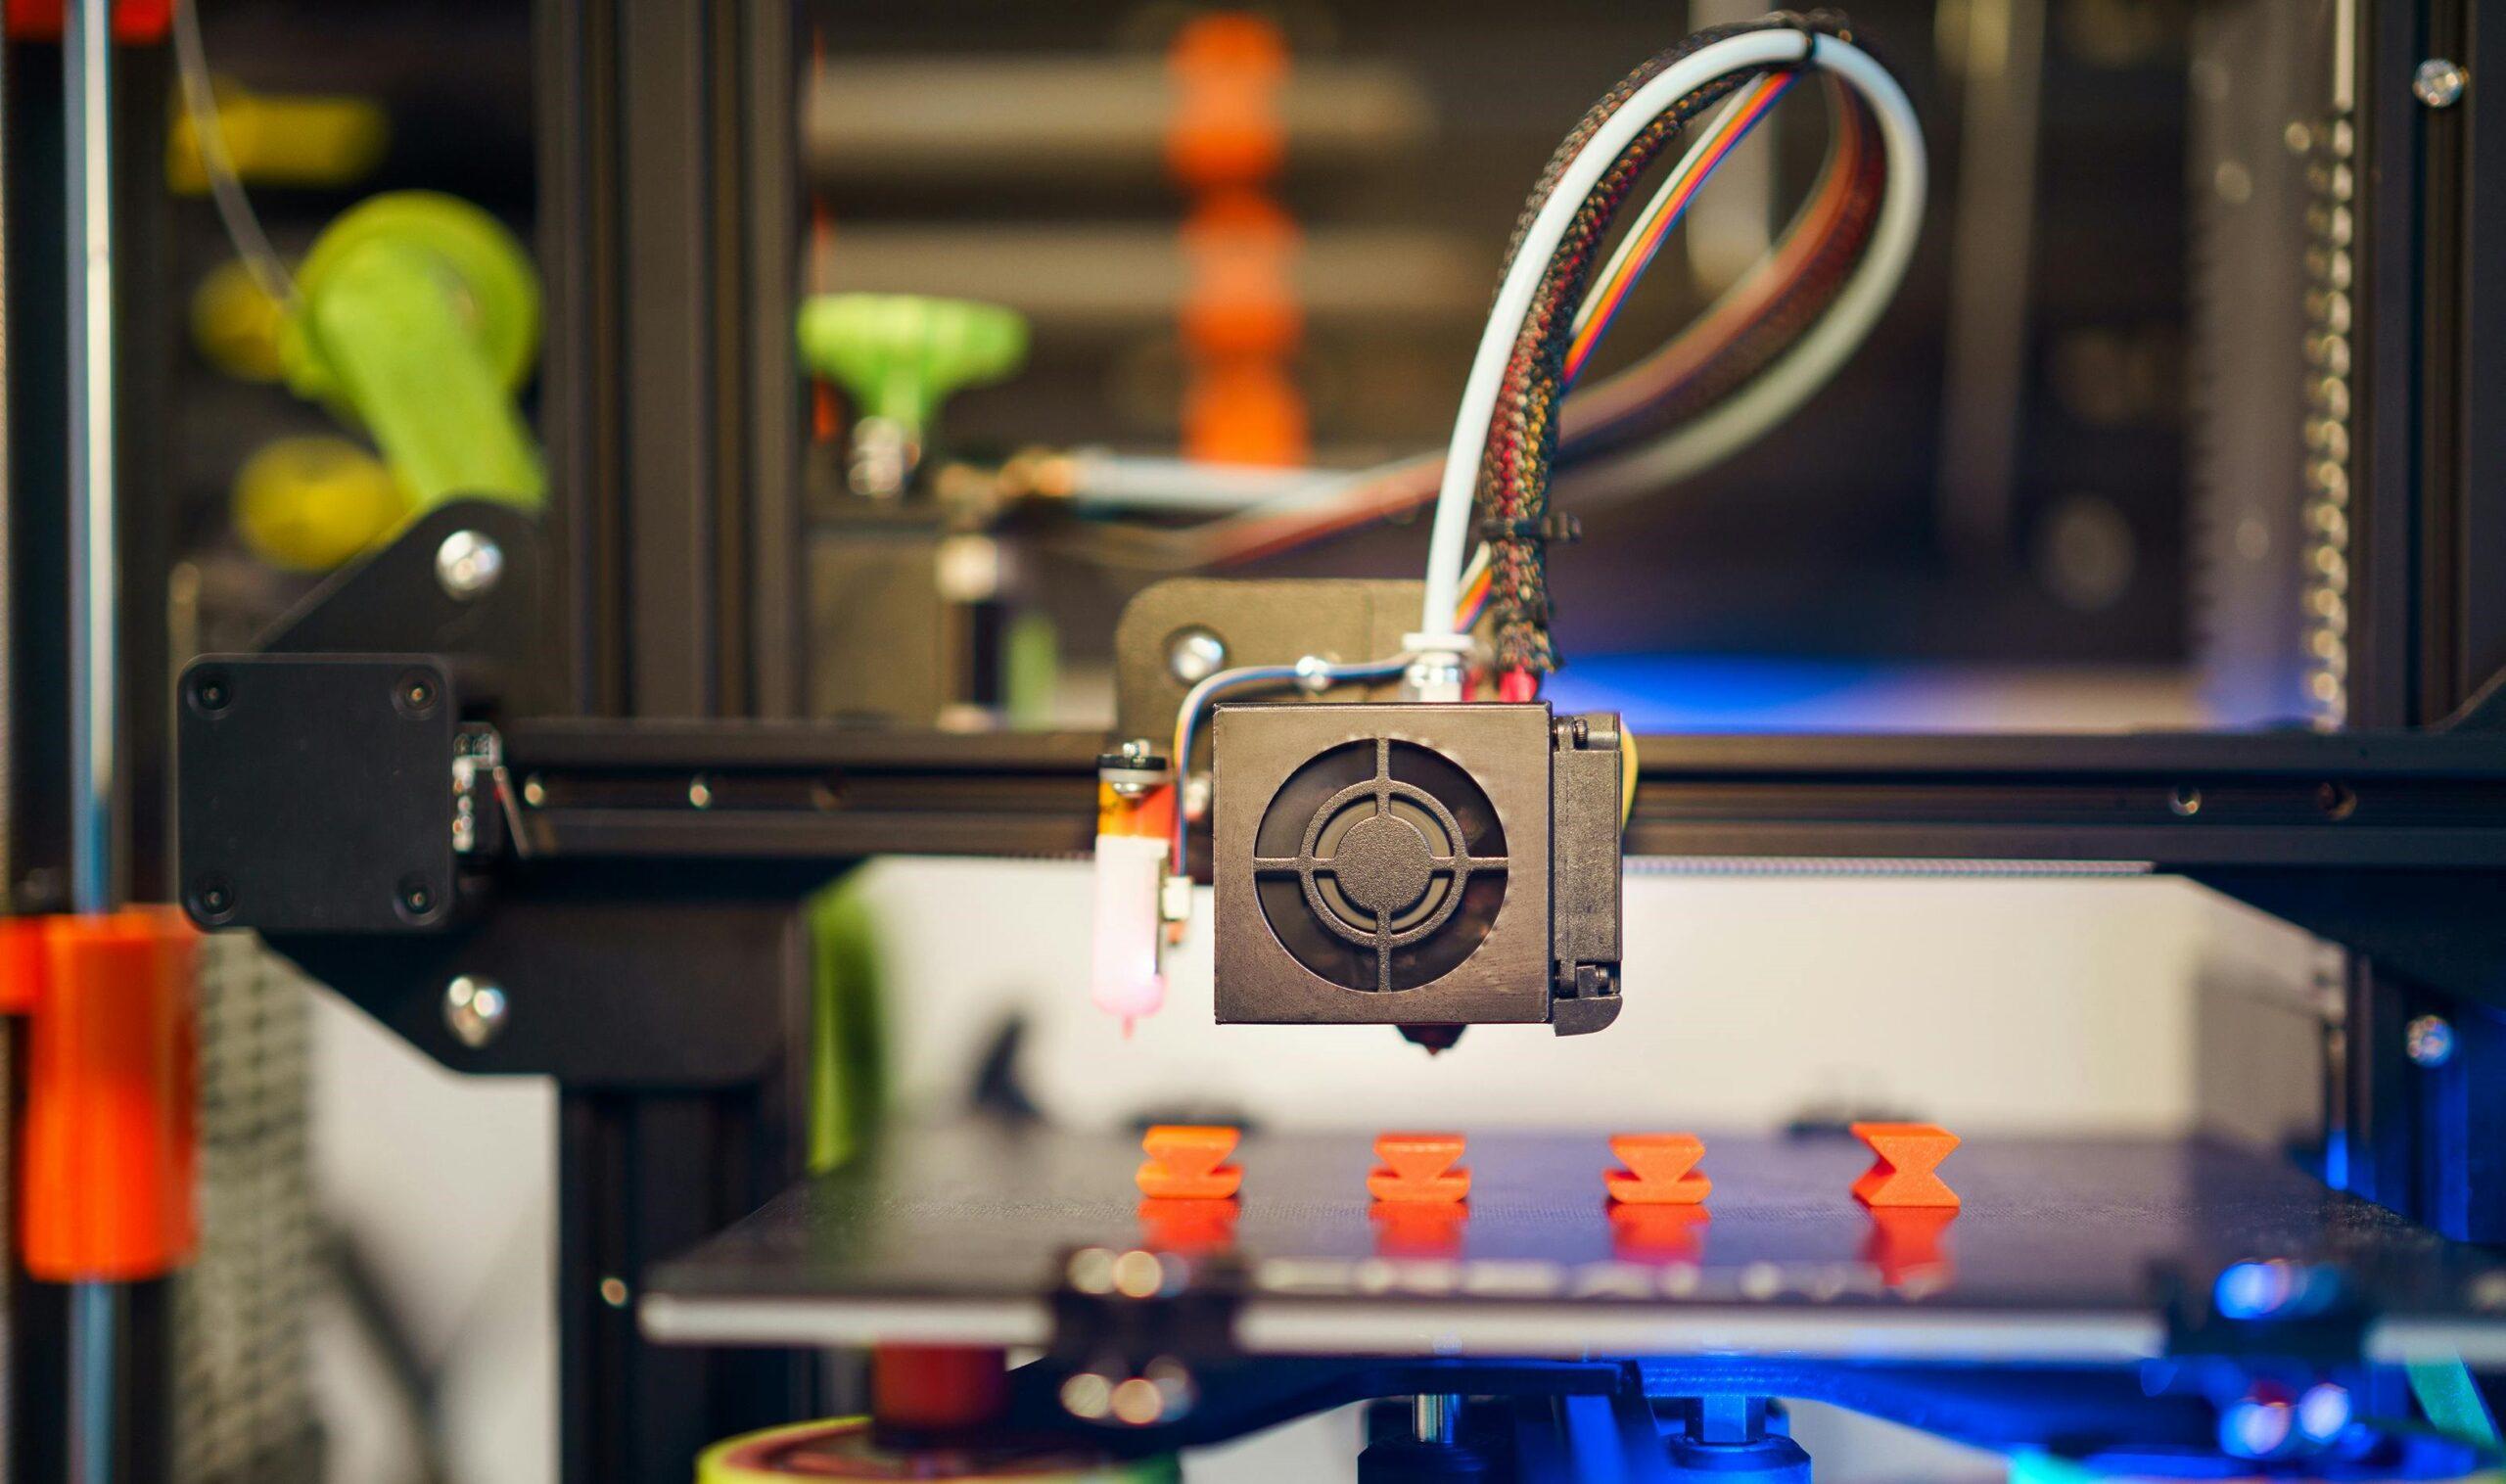
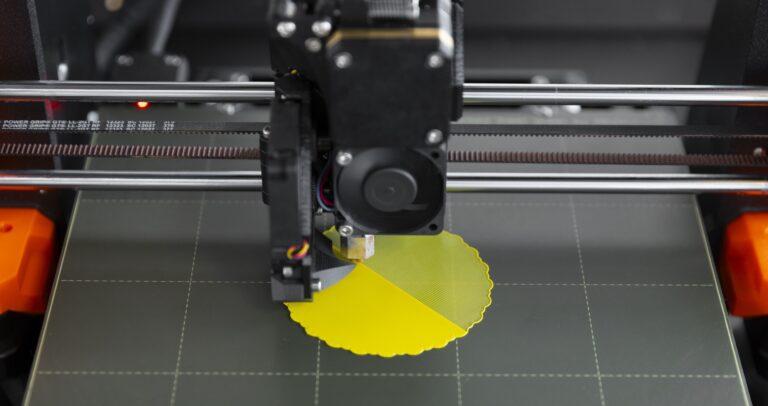
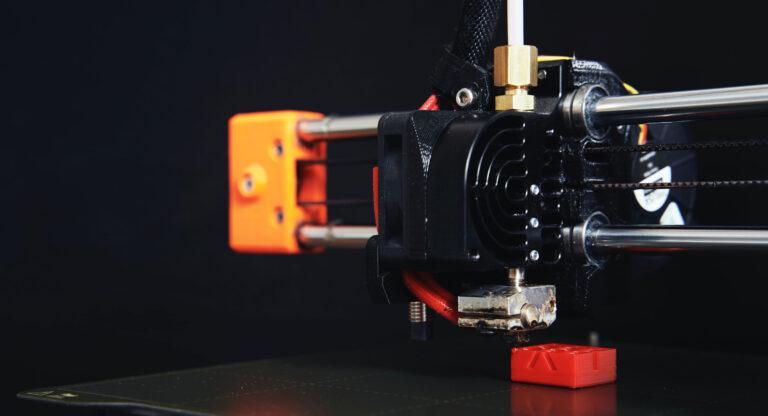
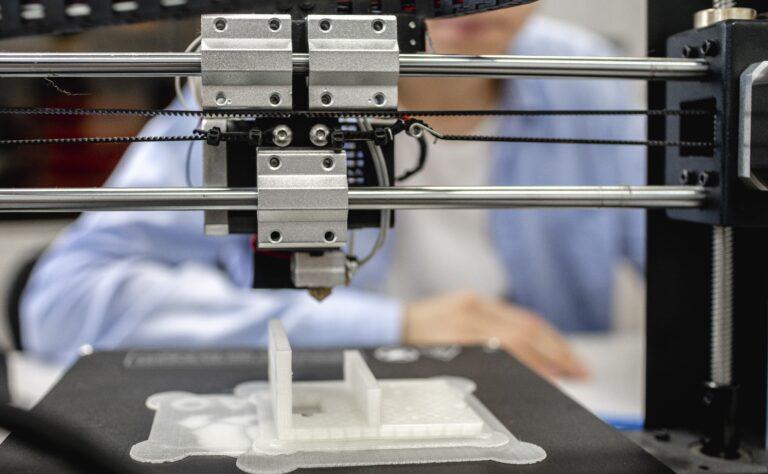
3D printing is capable of converting digital files into three-dimensional objects in a process known as additive manufacturing. Print heads can produce complex structures, from jewelry to components needed in the medical industry.
From 2019 to the present day, there have been great advances regarding this technology. For example, if we talk about 3D printing speeds, these have increased thanks to the creation of a new printer 10 times faster than traditional desktop models and 3 times faster than an industrial-scale system. The acceleration in the 3D printing process could revolutionize almost every industry, from retail to industrial parts manufacturing.
On the other hand, today’s 3D printers can produce functional parts from a wide variety of different materials: from metals to plastics or even glass.
How to avoid deformations in your 3D prints?
When you 3D print parts of considerable size, there is a chance that even if the first layers have successfully adhered to the surface, the part will later start to peel off.
This is a common behavior when printing very large or long parts with high temperature materials such as ABS.
The main cause of this problem in the 3D printing process is that plastic tends to shrink when it cools and, when it comes to larger parts, this shrinkage of a few millimeters can become quite noticeable.
Some simple, but effective solutions can be: disabling the layer cooling fan or using a heated bed to help keep the bottom layer of the part warm during the entire printing process.
Filling in 3D printing: definition, parts and types
The infill is the internal structure of the 3D printed part. Its main objective is to optimize, on the one hand, the weight and strength and, on the other hand, the production time of the part.
There are many different types of fillers for 3D printers, although they all pursue the same goal. Some of the most commonly used 3D printing infill patterns are: rectilinear, concentric, gyroid, lattice…
Choosing the best type of fillers is a very important step and is usually a trial and error process. However, sticking to simpler patterns (such as grid or rectilinear patterns) is always a good option.
How to convert a 2D image to 3D for 3D printing
3D technology has completely revolutionized the way we design and create objects and, therefore, many questions and doubts about this technology have arisen in recent years. A clear example is: What must be done to convert a 2D image to 3D in order to print it and manufacture the part in question?
In relation to this question, it is important to note that the standard format used in 3D printing is STL files.
First, once the 2D image is selected, it is often necessary to edit the image to highlight some areas or to remove unwanted elements. It is then necessary to import the image into a 3D tool that allows you to adjust the height or other details in order to create the desired dimension. Finally, you only need to export the 3D model as an STL file.
At Proto&Go! we provide the best service for the development of your parts and prototypes through additive manufacturing.
Through our online platform you can request a quotation for your parts and our team will give you an answer in less than 24 hours.
What are you wating for? Request your quote now!

