When we design a part, it’s easy to get fixated on the shape and critical dimensions and assume that the walls “will hold up just fine.” But wall thickness is one of the key factors that determines whether a prototype will come out straight and sturdy or whether the dreaded warping will occur—that deformation that bends, twists, or lifts the part.
On the screen, everything looks solid; on the workbench, a poorly dimensioned wall can warp, crack, vibrate during manufacturing, or cause the part to not fit.
At Proto&Go!, we manufacture hundreds of parts every day using 3D printing, CNC machining, and silicone molds, and we know that many deformation issues can be minimized by properly controlling wall thickness.
In this article, we explain what it is, why it can cause warping, and what guidelines to follow to minimize it.
What is wall thickness, and why does it cause warping?
Wall thickness is the thickness of the material between two surfaces of a part. Although it may seem like a minor detail, it directly affects strength, weight, cost, and, above all, dimensional stability.
In 3D printing and molded parts, warping occurs mainly when different areas of the part cool or contract at different rates. A very thin wall may deform or lose rigidity, while an excessively thick section may accumulate heat and contract unevenly.
In CNC machining, the causes are different. Walls that are too thin can bend or vibrate due to cutting forces. In addition, the workpiece can deform as material is removed, releasing the internal stresses present in the original block.
The result may be the same: raised edges, wavy surfaces, dimensional deviations, or parts that lose their flatness.
The key, therefore, is not just to “use enough material,” but to distribute it intelligently and adapt it to the manufacturing process.
The golden rule: Keep the thickness even
If you take away just one idea from this article, let it be this: maintaining consistent thicknesses and avoiding sudden changes in cross-section is one of the best ways to reduce the risk of warping.
Sudden changes in thickness—for example, a solid section next to a thin wall—can lead to uneven cooling, stress concentrations, and different behaviors during manufacturing.
To avoid this:
- Design walls with as consistent a thickness as possible, provided that the part’s function allows it.
- In printed or molded parts, hollow out unnecessary solid areas to reduce material, cost, and the risk of uneven shrinkage.
- In CNC machining, it removes material in a balanced manner and maintains sufficient rigidity throughout the process.
- If you need to increase stiffness, use reinforcing ribs instead of thickening the entire wall.
This rule is particularly important in 3D printing and molded parts. It can also be helpful in machining, although other factors—such as wall height, clamping, material, and cutting strategy—must be taken into account.
Minimum wall thicknesses recommended by technology
There is no single value: each technology and material has its own limits. The following values are initial guidelines and should be adjusted based on the part’s size, geometry, and intended use.
- FDM: About 1 or 1.2 mm is usually a good starting point for functional parts. The value will depend on the nozzle diameter, the number of perimeters, the material, and the print orientation.
- SLA / resins: Approximately 0.8 mm can be used as a guideline for functional walls. Thinner walls can be produced, but they may be more brittle and sensitive to orientation, supports, and post-curing.
- SLS with PA12: A wall thickness of between 0.8 and 1 mm typically provides a good balance between strength and lightness, although certain geometries can be manufactured with thinner walls.
- MJF with PA12: It is recommended to start with a thickness of approximately 1 to 2 mm and validate the design based on size, geometry, and mechanical requirements.
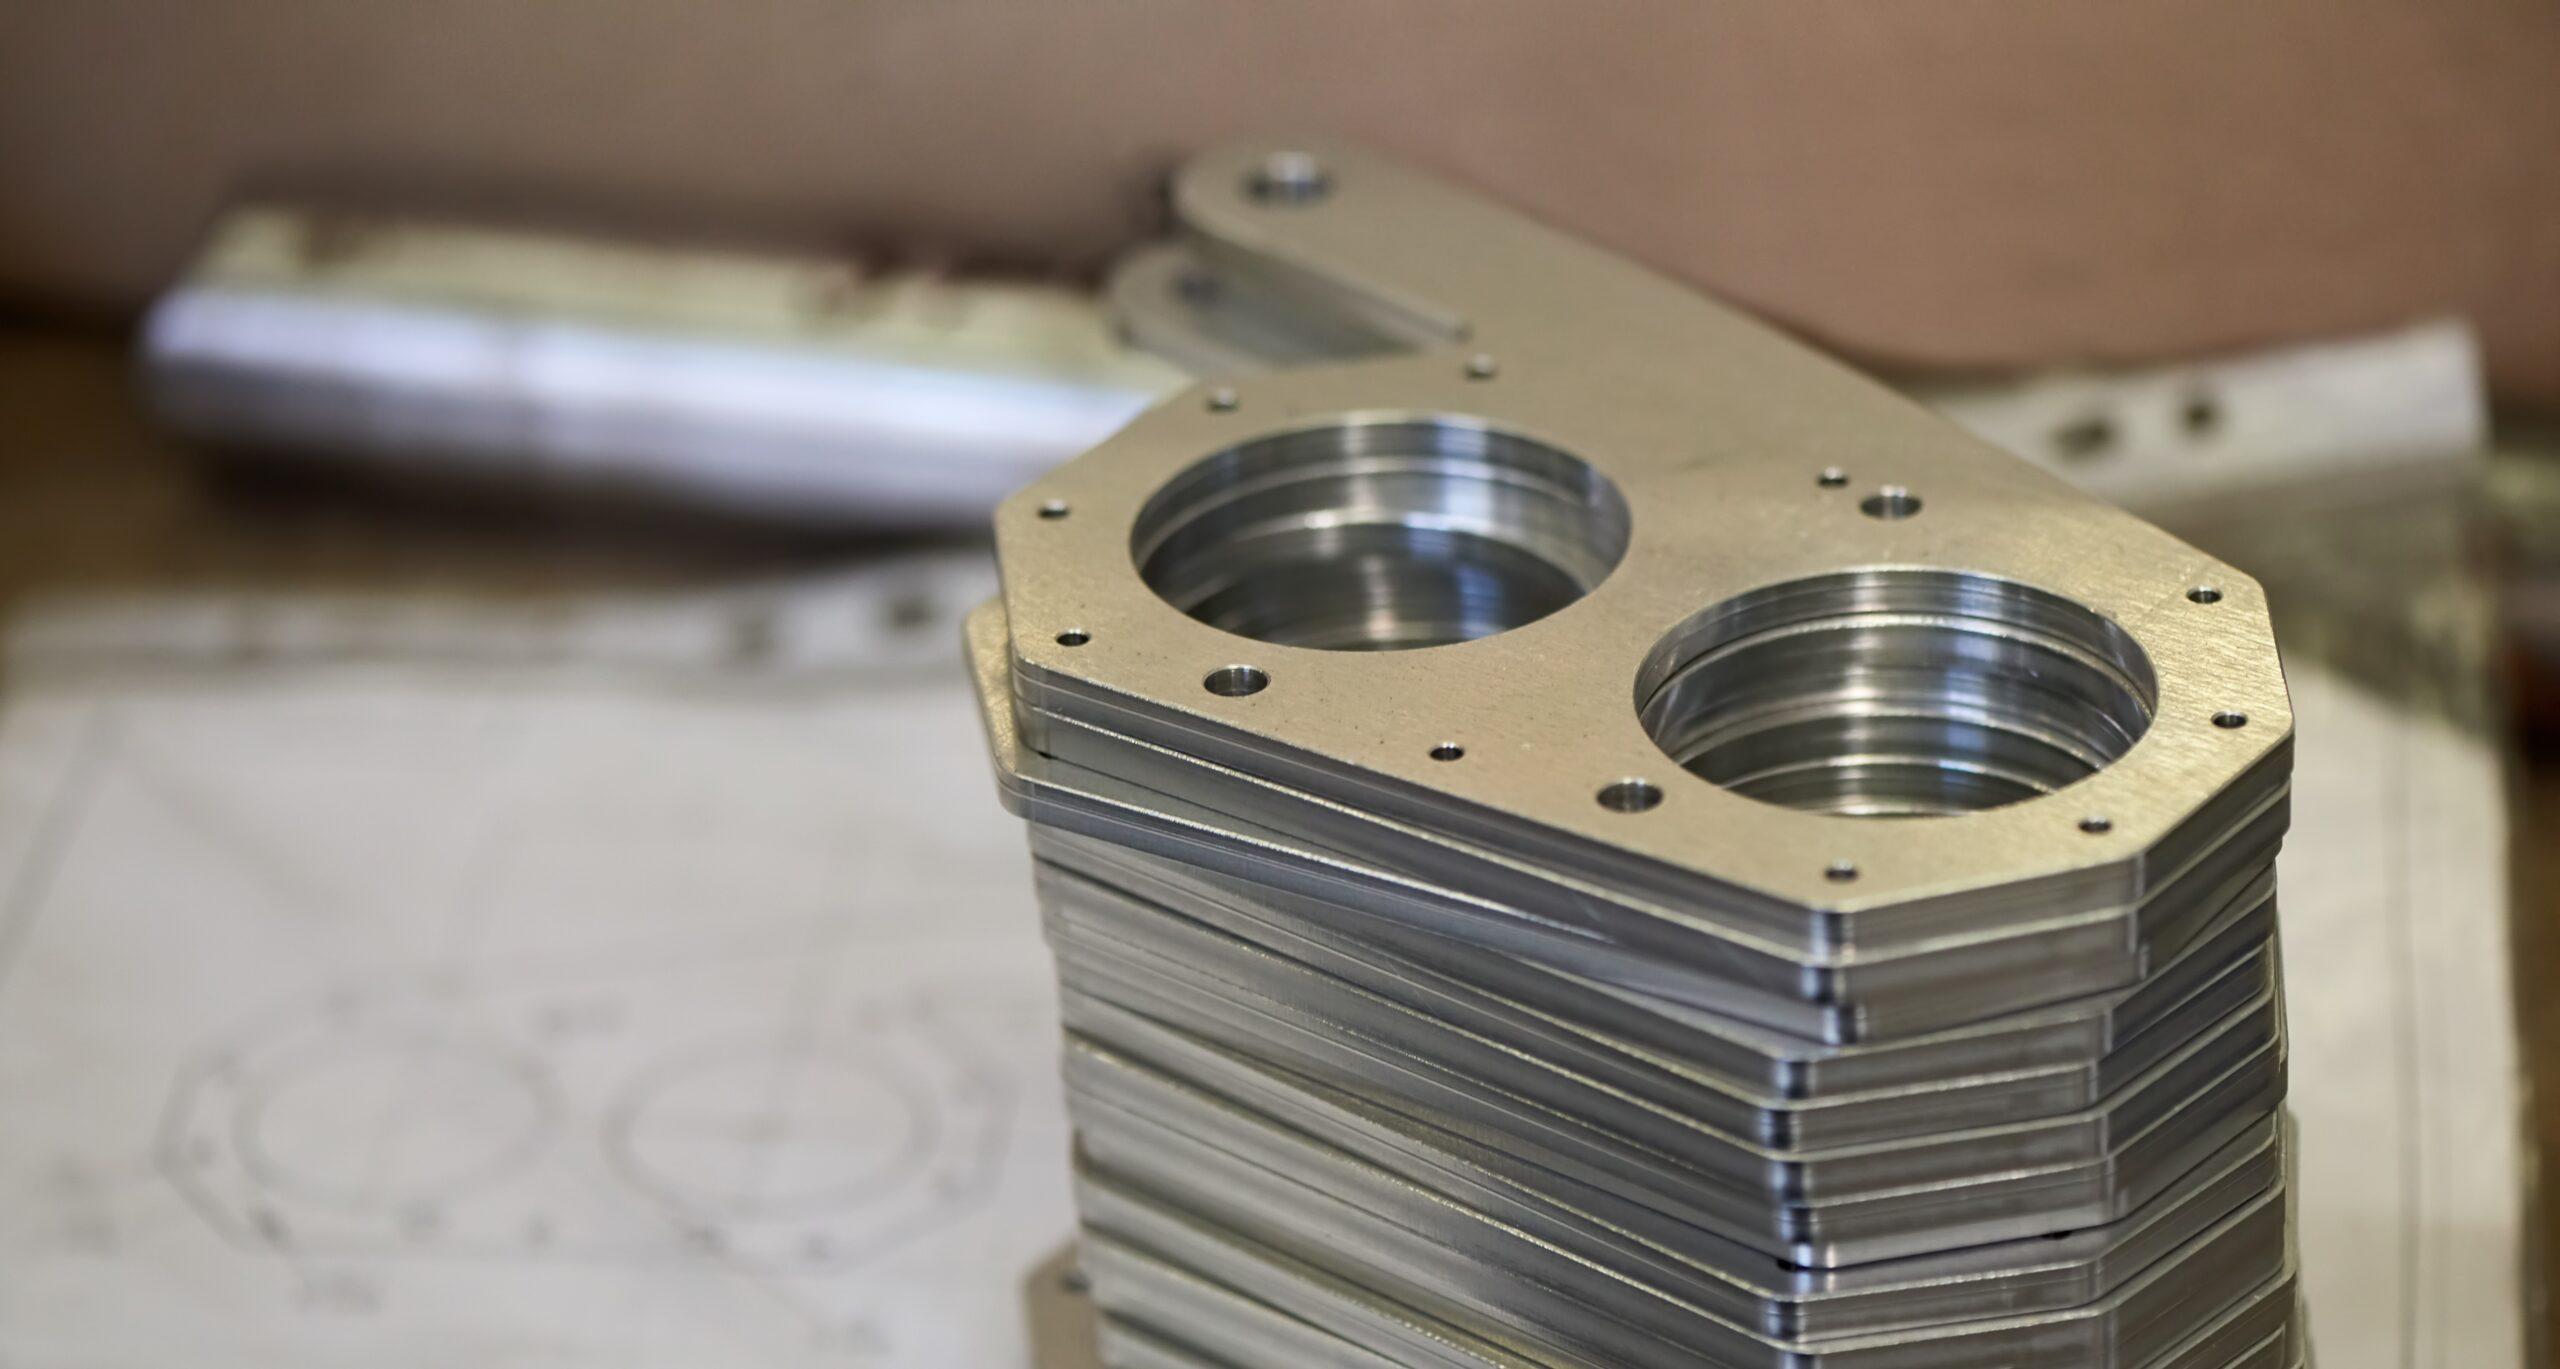
- CNC Machining: As a general guideline, it is best to avoid walls thinner than 1 mm, especially if they are tall, long, or poorly supported. Thinner walls can be machined for certain geometries and materials, but this increases the risk of vibration, bending, and deformation.
As a practical guideline, a range of 1.5 to 3 mm works well for many plastic housings and prototypes. However, the thickness should always be adapted to the technology, material, size, and operational loads.
It is also important not to make the walls too thick in printed or molded plastic parts, since very thick sections can cool and shrink unevenly.
Nerves and bones: stiffness without thickening
When a part needs to withstand loads, the temptation is often to make the wall thicker. However, adding material across the entire surface isn’t always the best solution.
Instead:
- Use reinforcing ribs to increase stiffness without excessively increasing the weight or volume of the material.
- In parts intended for thermoplastic molding, ribs are typically designed with a thickness of approximately 50% to 60% of the nominal wall thickness. This ratio helps reduce the risk of sink marks or indentations.
- In 3D printing, CNC machining, and silicone molds, the thickness of the ribs must be determined based on the technology, material, geometry, and loads that the part will have to withstand.
- Replace sharp corners with fillets and rounded edges. Fillets distribute stress more evenly, facilitate the flow of material in molded parts, and reduce the number of points where a crack can start.
- Create smooth transitions between areas of different thicknesses instead of abrupt steps.
Other tips for minimizing warping
Aside from thickness, there are other factors that help ensure the piece comes out straight:
- Orientation: The way the part is positioned in the machine affects how it is manufactured, cooled, and deformed.
- Orientation: The way the part is positioned in the machine affects how it is manufactured, cooled, and deformed.
- Large flat surfaces: These are particularly prone to warping. To reduce this risk, you can divide them, add ribs, introduce a slight curvature, or change the manufacturing orientation.
- Clamping and Machining: In CNC machining, improper clamping or excessive cutting forces can cause a thin-walled part to deform. The machining strategy must maintain the part’s rigidity throughout the entire process.
- Realistic tolerances: Do not over-tighten non-critical areas. Applying unnecessarily strict tolerances increases costs and the risk of rejection.
Validate your design with Proto&Go!
Wall thickness is a perfect example of why design for manufacturability, or DFM, makes all the difference: a small adjustment to the 3D model can prevent rework, breakage, and warped parts.
At Proto&Go!, we review your 3D file, identify areas at risk of warping or deformation, and recommend the most suitable technology and material for your part.
Our online platform lets you upload your design, choose between 3D printing, CNC machining, or silicone molds, and receive your quote in less than 24 hours.
Upload your file and receive your quote online now.