Post-processing in 3D printing: what it is, which options exist and when it is needed
What is done to the part after printing: what is included, what is ordered separately, what changes in the dimensions and how to design with that in mind.
Post-processing is everything done to a 3D-printed part after it comes out of the machine. In Multi Jet Fusion there's a mandatory part, unpacking, powder removal and shot blasting, which is included in the price and leaves the part matte gray and ready to use; and an optional part, dyeing, smoothing, painting or machining of fits, which is ordered separately and decides whether the part looks like a prototype or a product. It changes the appearance, in some cases the dimensions by tenths of a millimeter, and always the lead time.
Here we explain what is done for each technology, the options available for a PA12 or TPA part from our industrial MJF 3D printing service, what changes with each one, and how to design the part accounting for post-processing.
An MJF part comes out clean, shot-blasted and functional without asking for anything. Black dyeing is the only extra finish most visible parts need. Everything else is assessed part by part.
What is post-processing and why is it mandatory for a part?
No 3D printing technology delivers the finished part upon opening the machine. Each one leaves something that must be removed:
- MJF and SLS: the part comes out buried in a powder block without melting. It must be unpacked, the powder inside the holes cleaned, and, in MJF, shot blasted to remove adhered powder.
- FDM: overhangs are printed on supports that must be removed or dissolved, and they leave marks.
- SLA and resins: the part comes out sticky; it is washed in alcohol and cured with ultraviolet light before handling.
That step is not optional and is already included in the process. What is chosen is what comes after.
What is included in an MJF part
- Controlled cooling of the build chamber, for hours, so the part does not warp. It is part of the 5-day lead time.
- Unpacking: parts are extracted from the powder block and loose powder is recovered and recycled.
- Cleaning and shot blasting: compressed air and projection of micro-spheres that leave the surface uniform, matte, and with a fine grain.
- Inspection: each part is reviewed before leaving.
The result is a dark gray part, with a texture similar to very fine sandpaper, which is ready to be assembled and used.
Optional post-processing: what each one achieves
| Post-processing | What it achieves | Changes dimensions | When to request it |
|---|---|---|---|
| Black dyeing | Uniform black color throughout the run; retains the texture | No | Visible parts. It is the standard option in PA12. |
| Chemical smoothing (vapor) | Smooth surface, slightly glossy, sealed; closes porosity | Yes, tenths; softens edges and fine details | Parts that touch, fluid ducts, injection look |
| Vibratory finishing or tumble polishing | Rounds edges and refines the grain | Yes, tenths on edges | Small and robust part series |
| Painting | Any RAL color, matte or glossy | +40 a 100 µm | Brand color, display parts |
| Machined fits | Holes and faces to machining tolerance | Yes, to the drawing dimension | Bearing housings, pins, support faces |
| Metal inserts | Durable metal threads | No | Threads smaller than M6 or that are mounted many times |
At Proto&Go!, PA12 comes in natural gray or dyed black, and TPA in natural. Other post-processing is assessed for each part when you request a quote.
How does post-processing affect the part design?
- Fine details. Shot blasting and, especially, chemical smoothing soften edges. Texts and logos: letters of 2.5 mm height, strokes of 0.5 mm and 1 mm relief as a minimum.
- Holes for fit. Design them with 0.3 to 0.5 mm oversize in the model if they are to be machined afterwards, and indicate it in the drawing. The printing precision is ±0.3 mm up to 100 mm; the subsequent machining precision is whatever the drawing requests.
- Closed cavities. The dust must be able to escape: leave at least one 5 mm or larger hole per cavity, preferably two.
- Visible surfaces. A large flat face pointing up in the build chamber comes out smoother than the same face tilted; if one face is “the good one”, say so in the order.
- Flexible TPA parts. They are cleaned the same way, but they are not dyed or chemically polished. Design the color in the form, not in the finish.
These rules and those for walls and threads are on the 3D printing design page, and the tolerances for each process are in the manufacturing process tolerances guide.
What about FDM and resin?
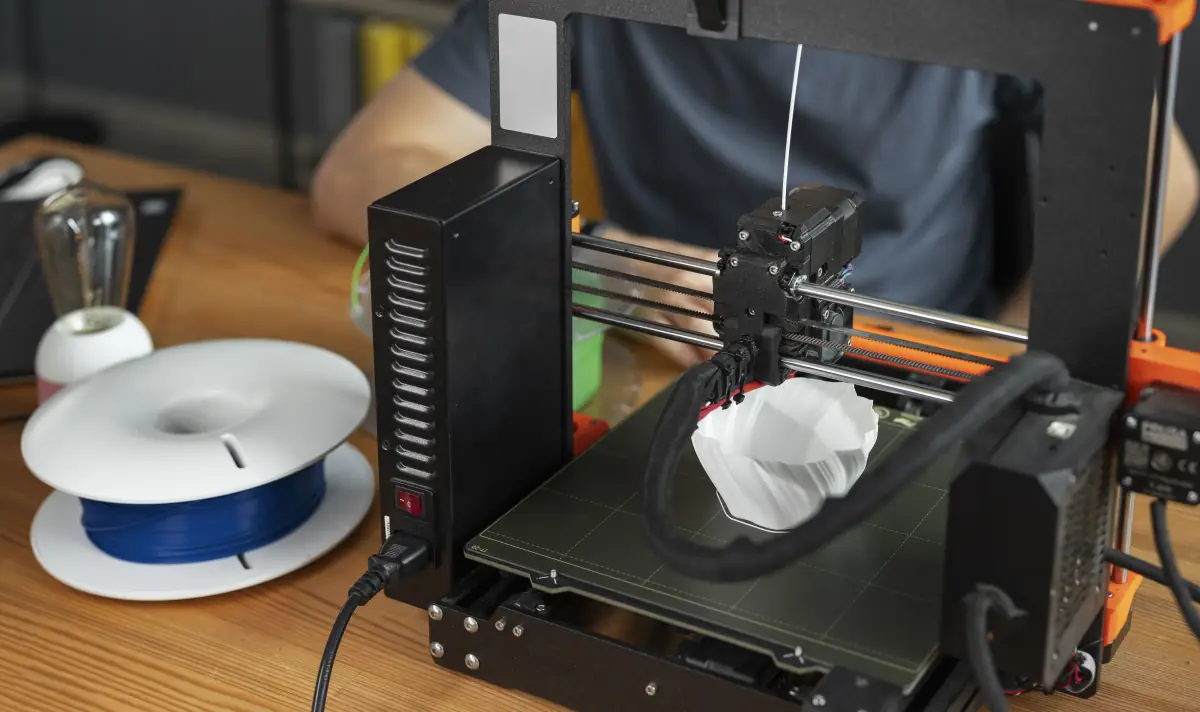
If you print yourself on a desktop machine, post-processing is manual: remove supports with pliers, sand the marks and layer lines, fill with putty, prime, and paint. A well-finished FDM part can take more hours of sanding than printing, and resins require washing and curing, plus gloves. It is one of the reasons why, for a few parts or when the finish matters, outsourcing to MJF is cost-effective: industrial post-processing is batch-based and repeatable.
How much do they add to the lead time and price?
The basics are already included within 5 working days. Dyeing adds little time and is charged per batch, so it hardly makes a difference in a run. Polishing, painting, and machining are separate operations, with their own lead time, which the quote details. As a rule, the closer the part is to an injection-molded appearance, the more post-processing it requires; if that appearance is important and the run is 10 to 300 units, compare it with vacuum casting in silicone molds, which provides it from the source.
How to order post-processing
- Upload the 3D file and select PA12 or TPA.
- Select the finish: natural or black dyed.
- If you need polishing, painting, hole machining, or inserts, indicate it in the comments and attach a PDF with the affected dimensions.
- For visible parts, request a sample unit before the run.
The engineer reviewing the order confirms which post-processing is viable for your geometry and includes it in the quote, which arrives in 24 h. If you want to know how the part is printed before all this, read how Multi Jet Fusion 3D printing works.
Frequently asked questions about 3D post-processing
What post-processing does an MJF-printed part include?
Standard: controlled cooling, unpacking, dust removal, and shot blasting, which leave the part matte gray and ready to use. Optionally, black dyeing, chemical smoothing, painting, fit machining, or inserts.
Does dyeing change the part's dimensions?
No. The dye penetrates the polyamide surface without adding a layer, so dimensions and texture remain unchanged. Painting adds between 40 and 100 microns.
Can you achieve a smooth surface on a 3D-printed part?
Yes, with chemical vapor smoothing, which melts the top layer and closes porosity. It also smooths edges and fine details and changes dimensions by tenths, so it is evaluated part by part. For an injection-molded finish in short runs, vacuum casting is the alternative.
Can you machine a 3D-printed part?
Yes. This is the usual way to obtain holes and faces with machining tolerances on a PA12 part: it is printed oversized and the dimension from the drawing is machined afterward.