3D printing: the leap from prototyping to mass production
What to validate in a printed prototype, when that same part is already the final one and how to go from 1 to 100 units without changing file or process.
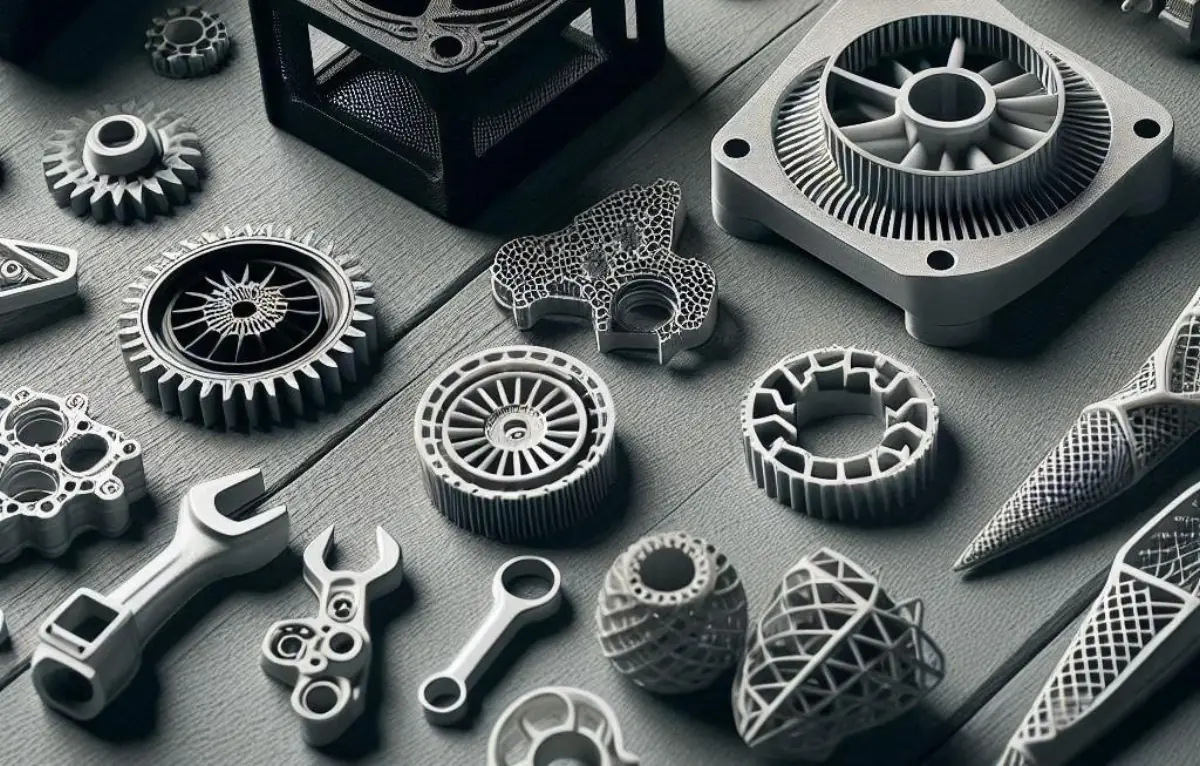
3D printing stopped being just for prototypes when parts started holding up to real use. With Multi Jet Fusion in PA12, the machine that prints a prototype today prints the run of 200 units next month, without a mold, with the same file, and from 5 working days. What changes between one phase and another is not the process: it is what you validate and how much you fill the build chamber.
This guide explains what to validate in a 3D printed prototype, in what material to make it, when that part is already the final one, and how to go from one unit to a hundred without surprises. The data is from the industrial 3D printing MJF service in PA12 and TPA.
Prototype and final part can be the same file. If the prototype is printed in PA12 and works, the series is repeating the order with another quantity.
Why did 3D printing start in prototyping?
The first technologies (stereolithography in the 80s, FDM in the 90s) made fragile resin or filament parts, with stepped surfaces and precision in tenths. They served to see a shape in hand before making a mold, and that is where the name «rapid prototyping» was born. The real part was manufactured afterwards, by injection or machining.
The leap was given by powder bed technologies, SLS first and MJF afterwards: dense polyamide parts, with similar resistance in all directions, without supports and with a build chamber that fills with dozens of parts at once. The printed part stopped being a mock-up and became a part.
What has changed for it to serve as manufacturing?
- Material. PA12 from MJF is a technical polyamide: it resists oils, solvents, abrasion, and fatigue. It holds clips, hinges, and threads.
- Repeatability. Build chamber number 40 comes out the same as number 1, with the same reference precision: ±0.3 mm up to 100 mm and ±0.3 % above.
- Cost per part. Since the whole layer fuses at once, machine time depends on the height of the build chamber and not on how many parts are inside. Nesting well is what lowers the price.
- Industrial post-processing. Cleaning, shot blasting and dyeing in batches, with the same result on every unit.
3D printed prototypes: what to validate and in what material
Not all prototypes look for the same thing. The table summarizes what technology and material is convenient according to what you want to check:
| What I want to validate | Process | Material | First parts |
|---|---|---|---|
| Shape and size in hand | Desktop FDM or MJF | PLA or PA12 | Hours or 5 working days |
| Function: assembly, clips, loads | MJF | PA12 | 5 working days |
| Flexibility: bellows, joints, grips | MJF | TPA 90A | 5 working days |
| Final product appearance, color, transparency | Vacuum casting | Polyurethane | 10 working days |
| Fit tolerances, metal, temperature | CNC machining | Aluminum, steel, POM, PEEK... | 8 working days |
The most common combination is to print the housing in PA12 and machine the part with bearings in aluminum. Each process does what it does best, and the prototyping and short runs page compares the four with their lead times.
When is the printed part already the final one?
When four conditions are met: the production material can be PA12 or TPA, the precision of ±0.3 mm is sufficient (or the fit dimensions are machined afterwards), the expected run is one to several hundred units per year and the geometry does not justify a mold. Within that fall countless industrial parts:
- Electronics and sensor housings, in runs of 20 to 500 units.
- Assembly tools, templates and custom jigs for the factory itself.
- Ducts, diffusers and collectors with internal channels that no mold can demold.
- Machine spare parts for discontinued machines, printed on demand.
- Custom parts: each unit different, with no change cost.
When the run goes beyond several hundred identical parts per year, injection molding becomes cheaper, and between 10 and 300 parts with a final product appearance, vacuum casting competes. The numbers are in vacuum casting or injection molding: what to choose.
How much does it cost to go from 1 to 100 units
With MJF there is no mold or tooling, so the first part carries no investment. What lowers the unit price in a run is nesting: a single housing only partly fills a build chamber; a hundred housings stack up and share the same print and cooling cycle. The cost per part approaches the cost of the material plus post-processing. Three practical consequences:
- Request the quote with three quantities (for example 1, 10, and 100) to see the curve before deciding.
- Lighten the part: voids, ribs, and walls of 1.5 to 2 mm reduce material and build chamber height, which is what you pay for.
- Design so the parts nest well: no huge overhangs or closed boxes with powder inside (leave escape holes of 5 mm or more).
From prototype to run without changing process: the list
- Lock the file that worked. If you change anything, print another unit before the run.
- Note critical dimensions on a PDF drawing: those that fit with another part are reviewed and, if necessary, drilled or deburred afterwards.
- Choose the finish: natural gray or dyed black. Dyeing keeps the color consistent across the run.
- Check a dyed unit before the full hundred if color matters.
- Define the inspection: what is measured on each part and what is accepted. Every part is verified before release.
Design rules (walls, threads, text, draft holes) are on the 3D printing design guide, and post-processing is on post-processing in 3D printing.
Frequently asked questions about 3D printed prototypes
Can a 3D printed prototype be used as a final part?
Yes, when the production material can be PA12 or TPA, ±0.3 mm precision is enough and the run is from one to several hundred units. Housings, fixtures, ducts and spare parts are routinely made this way.
How many parts is it advisable to print in 3D before moving to injection molding?
Up to several hundred parts per year, 3D printing MJF is usually the most economical option, as it does not require a mold. From there, injection molding amortizes the mold. Between 10 and 300 parts with a final product appearance, vacuum casting is the alternative to compare.
What material is used for a functional 3D printed prototype?
PA12, a tough and oil-resistant polyamide, for rigid parts; TPA with 90A hardness for flexible parts. Both are printed via Multi Jet Fusion without supports.
How long does a 3D printed prototype take?
At Proto&Go! the quote arrives within 24 h and parts ship from 5 working days, including printing, build chamber cooling, cleaning and finishing.