How to optimize your designs to reduce prototyping costs without losing functionality
Discover how to optimize your designs to reduce prototyping costs without losing functionality at Proto&Go!
Design optimization is a key tool to reduce costs in part manufacturing and prototyping. Whether you work with CNC machining, 3D printing or other part manufacturing technologies, applying certain criteria from the design stage can make a big difference in time, quote and results.
The success of a good prototype depends not only on the chosen manufacturing technology, but also —and especially— on the design. Adjusting certain parameters during the modeling phase can significantly reduce production costs without compromising functionality or product performance. Additionally, an optimized design facilitates manufacturing, accelerates lead times, and minimizes errors in subsequent phases.
In this article we tell you how to apply key design principles to optimize your prototypes, save time and money, and accelerate product development without losing quality.
Simplify geometries: less is more
A basic but powerful rule: the simpler the part, the cheaper it is to manufacture. Geometries with deep cavities, very small internal radii, or walls that are too thin pose a challenge in both CNC machining and 3D printing. These complexities force the use of special tools, increase manufacturing time, or assume risks of warping or breakage.
Reducing unnecessary elements, maintaining constant wall thickness, and avoiding purely aesthetic details allows reducing machine working time, better utilizing material, and avoiding manufacturing errors. For example, in 3D printing, a design with poorly positioned supports can considerably increase printing time and cost.
Design thinking for the technology you are using
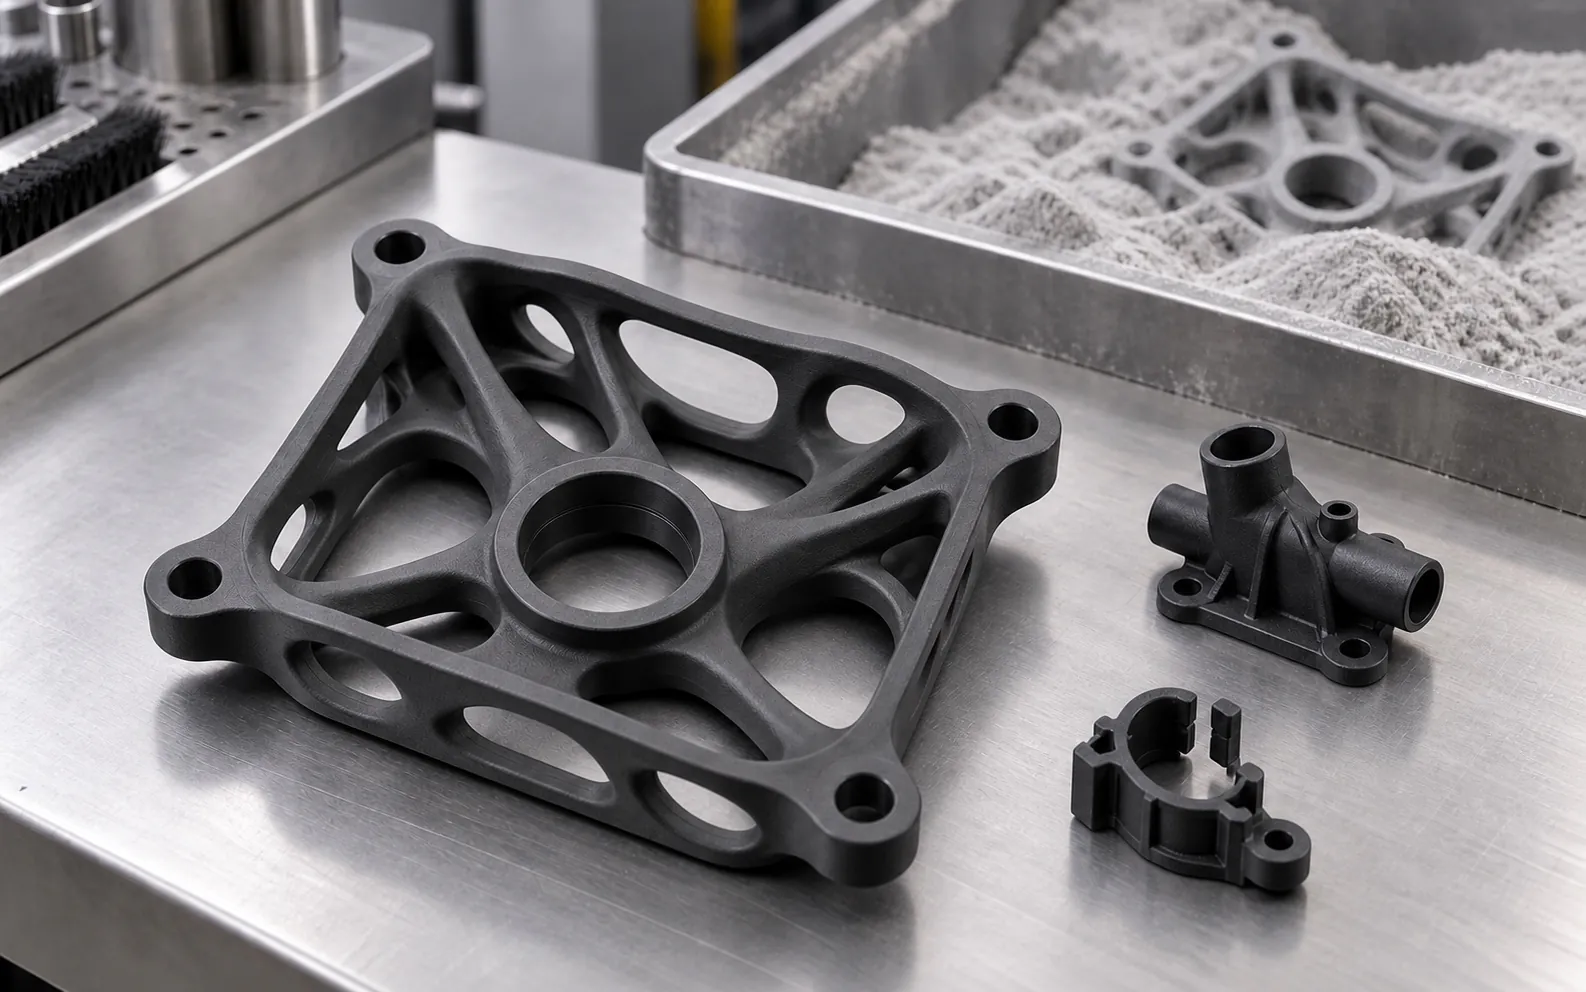
Designing a part for 3D printing is not the same as designing it for CNC machining. Each technology has specific limitations that directly affect the design. In additive manufacturing, it is advisable to orient parts to minimize supports, avoid long overhangs, and take advantage of the complex shapes this technique allows. Conversely, in industrial machining, aspects such as tool accessibility, the number of axes required, or the type of material must be considered.
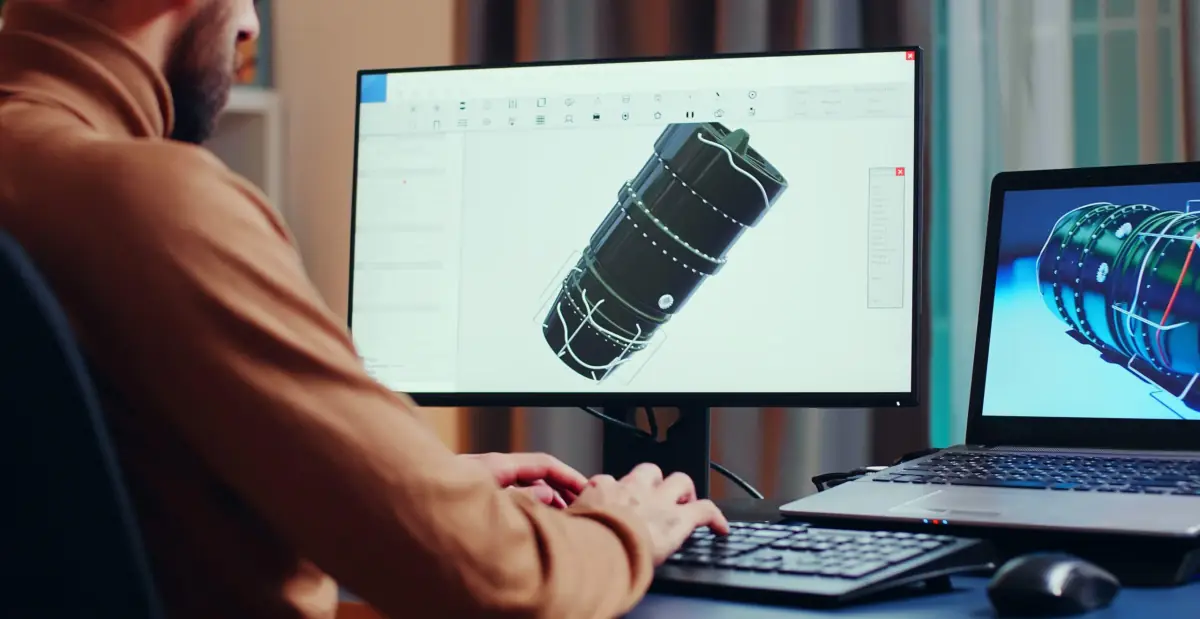
Applying Design for Manufacturing (DFM) principles during the 3D model phase is key. Adapting the model to the selected production technology will avoid costly redesigns and reduce both the time and quote required to obtain a functional prototype.
Reduce parts and assemblies: integrate functions
Each additional component implies higher cost, both in manufacturing and assembly. If your design requires assembling several parts, consider whether some functions can be integrated into a single body. This not only reduces the number of processes but also the risk of assembly errors or dimensional misalignments.
Especially in rapid prototyping, simplifying the assembly into a single geometry can make the difference between a functional prototype delivered in days or a series of parts requiring manual adjustments. Furthermore, by reducing joints and moving elements, you also increase the reliability of the part for functional tests or presentations.
Choose the material based on the development phase
The material influences both the cost and the functionality of the prototype. In initial stages, it is not necessary to use the final material. You can opt for more economical or easier-to-machine materials, such as standard engineering plastics, which allow validating the design without incurring high costs. Later, once the model is validated, you can manufacture with final materials such as PA12 or even aluminum.
At Proto&Go! we offer a wide variety of materials and technologies for both professional 3D printing and CNC machining, which allows us to adapt to the exact stage of your project and propose the best quality/price option.